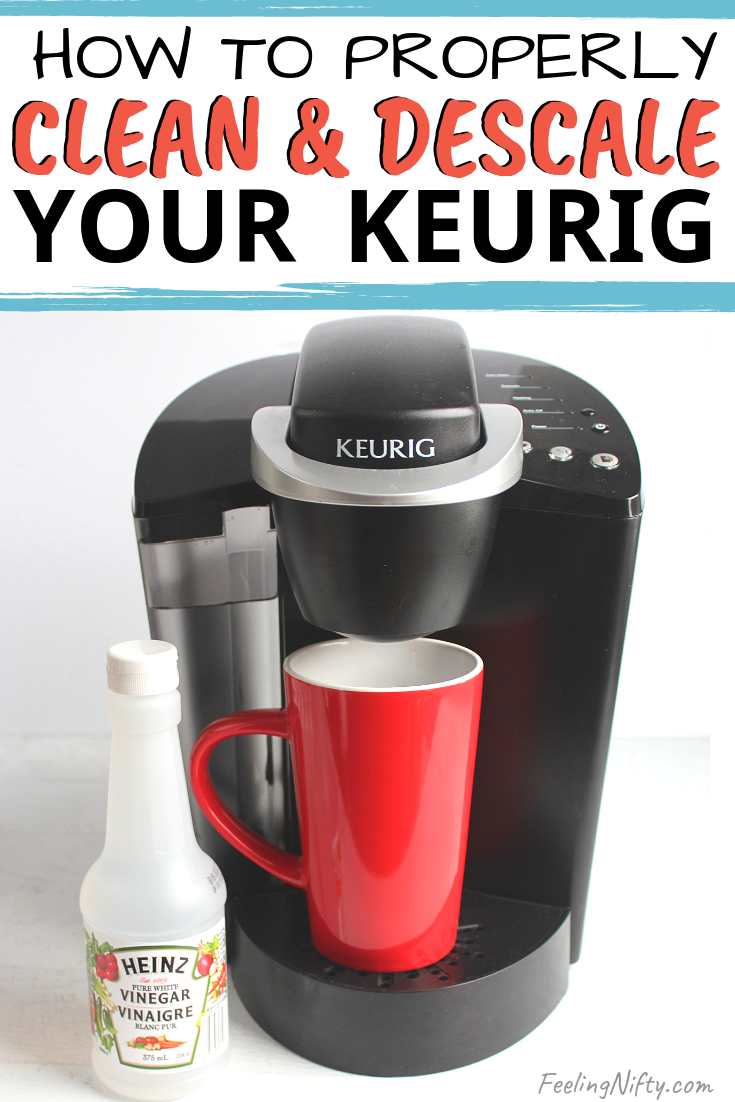
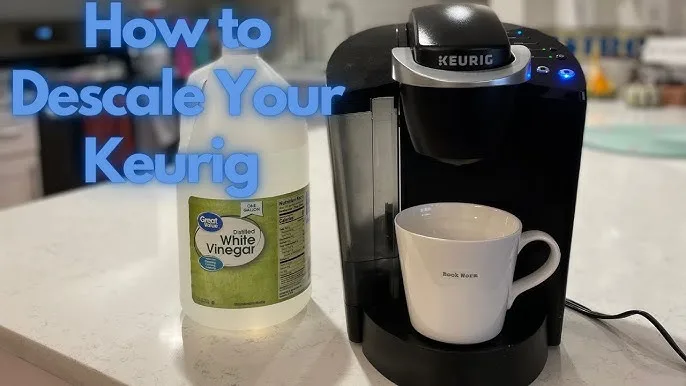
Cleaning your Keurig with vinegar is easy and effective. It ensures your coffee tastes fresh every day.
Over time, your Keurig coffee maker can accumulate mineral deposits and coffee residue. These build-ups can affect the taste of your coffee and the performance of your machine. Using vinegar, a natural and powerful cleaner, you can easily remove these deposits.
This simple method keeps your coffee maker in top condition. In this post, we will guide you through the steps to clean your Keurig with vinegar.
This process is quick, cost-effective and ensures your coffee maker works perfectly. Get ready to enjoy better-tasting coffee and a longer-lasting machine with this easy cleaning routine.
Materials Needed
Cleaning your Keurig with vinegar is simple. You need a few basic materials. They are easy to find and use. Let’s break them down.
Vinegar
White vinegar is the best choice. It helps remove scale and buildup. Vinegar is a natural cleaner. It is safe and effective.
Water
You need fresh water. It rinses the vinegar from the machine. Tap water works fine. Use clean water for the best results.
Clean Cloth
A clean cloth is essential. It helps wipe the exterior. Make sure it is lint-free. This keeps your Keurig looking good.
Measuring Cup
A measuring cup ensures the right amount of vinegar. It helps you measure water too. Use any standard measuring cup. Precision is key.
Preparation Steps
Cleaning your Keurig coffee maker with vinegar is a simple task that ensures your machine stays in top condition. The first step is proper preparation. Let’s dive into the preparation steps to make this cleaning process smooth and efficient.
Unplug The Machine
Before you start, make sure to unplug your Keurig. This step is crucial for your safety. It prevents any risk of electric shock while you’re cleaning.
Have you ever accidentally splashed water on an electric appliance while it was still plugged in? It’s a scary moment. Unplugging the machine gives you peace of mind and keeps you safe.
Empty The Water Reservoir
Next, empty the water reservoir. Take it off the machine and pour out any remaining water. This ensures that you start with a clean slate.
If your reservoir has been sitting for a while, you’ll notice sediment or buildup at the bottom. Emptying and rinsing it can prevent that gunk from getting into your coffee.
These preparation steps set the stage for a thorough cleaning. Are you ready to give your Keurig a fresh start?
Disassembling Parts
Cleaning a Keurig coffee maker with vinegar is crucial. First, you need to disassemble its parts. This ensures that every component gets cleaned thoroughly. Let’s start with the basics.
Remove The Drip Tray
Begin by removing the drip tray. It’s located at the bottom of your Keurig. Pull it out gently. The drip tray catches spills and overflow. Removing it allows you to clean it separately. Use warm, soapy water for the best results.
Detach The Water Reservoir
Next, detach the water reservoir. Lift it off the machine carefully. The reservoir stores the water for brewing. Cleaning it is essential for fresh-tasting coffee. Rinse it under warm water. You can use mild soap if needed. Make sure to rinse thoroughly. This prevents any soap residue from lingering.
:max_bytes(150000):strip_icc()/how-to-clean-and-descale-keurig-mini-6834333-12-2c02fadca53945e5b7231ce9522af346.jpg)
Credit: spraye.io
Cleaning The Exterior
Keeping the exterior of your Keurig coffee maker clean is essential. It helps maintain its sleek appearance and ensures it operates smoothly. Dust and coffee spills can gather on the surface, making your machine look old. Here’s how to clean the exterior effectively with simple steps.
Wipe With A Damp Cloth
First, unplug the machine for safety. Use a soft, damp cloth to wipe the exterior. Focus on areas with visible stains or dust. Avoid using harsh chemicals or abrasive materials that could scratch the surface. A gentle wipe will remove most dirt and grime.
Dry With A Clean Towel
Next, take a clean, dry towel. Gently wipe down the exterior to remove any remaining moisture. This step prevents water spots and keeps your machine looking shiny. Ensure all parts are thoroughly dry before plugging it back in. Regular drying helps maintain the Keurig’s appearance.
Descaling With Vinegar
Descaling with vinegar is a simple way to clean your Keurig coffee maker. This method removes built-up minerals that affect the taste and performance of your machine. Regular descaling can extend the life of your coffee maker.
Mix Vinegar And Water
First, mix equal parts of white vinegar and water. Use a large measuring cup to make the mixture. You will need enough to fill the water reservoir of your Keurig. Usually, this is about 10 to 12 cups.
Run Cleaning Cycle
Pour the vinegar and water mixture into the water reservoir. Place a large mug on the drip tray to catch the liquid. Start the brewing cycle without a K-cup. Let the machine run as if you are brewing coffee.
Once the cycle is complete, discard the contents of the mug. Repeat the brewing process until the reservoir is empty. This helps to remove all the vinegar solution from the internal parts.
Rinse the water reservoir and fill it with fresh water. Run several more brewing cycles with just water. This will help to flush out any remaining vinegar taste. Continue until the water runs clear and no vinegar smell remains.
Descaling your Keurig with vinegar is an easy and cost-effective method. It keeps your coffee tasting great and your machine in good condition.

Credit: feelingnifty.com
Rinsing The Machine
Clean a Keurig coffee maker using vinegar by first rinsing the machine. Run a cycle with fresh water to remove any residue. Repeat if needed for thorough cleansing.
Cleaning your Keurig coffee maker with vinegar is a great way to ensure your machine runs smoothly and brews delicious coffee. After descaling with vinegar, it’s crucial to rinse the machine thoroughly to remove any residual vinegar taste. Let’s dive into the process of rinsing your Keurig to make sure it’s ready for your next cup of coffee.
Fill With Clean Water
Start by filling the water reservoir with clean, fresh water. This will help to flush out any remaining vinegar from the internal components. Ensure the reservoir is full to maximize the cleaning process. Using filtered water can be beneficial, as it helps prevent future buildup of minerals.
Run Multiple Cycles
Next, run multiple brewing cycles without any coffee pods. This will allow the clean water to pass through the machine and remove any lingering vinegar. You might need to run up to five cycles to make sure all traces of vinegar are gone.
It’s a good idea to taste the water after each cycle to check for any vinegar flavor. Have you noticed a difference in taste after cleaning your Keurig?
By the end of these steps, your machine should be free of any vinegar residue, ensuring every cup of coffee is as delicious as the first. This simple maintenance task can prolong the life of your Keurig and keep your morning routine running smoothly.
Cleaning Removable Parts
To clean a Keurig coffee maker with vinegar, start by removing and washing all removable parts. Rinse thoroughly to remove any coffee residue.
Cleaning the removable parts of your Keurig coffee maker is essential for maintaining the quality of your coffee and prolonging the life of your machine.
These parts, including the water reservoir, drip tray, and K-cup holder, can accumulate coffee grounds and mineral deposits over time. Regularly cleaning them ensures your coffee tastes fresh and your machine operates smoothly.
Soak In Vinegar Solution
First, gather all the removable parts. Remove the water reservoir, drip tray, and K-cup holder from your Keurig. Prepare a solution of equal parts white vinegar and water in a container. Soak the parts in this solution for about 30 minutes.
This helps to break down any build-up and sanitize the components. Have you ever noticed a stale taste in your coffee? It’s often due to residue in these parts. Cleaning them can make a big difference.
Rinse And Dry
After soaking, rinse each part thoroughly with warm water. Ensure all vinegar residue is washed away to prevent any lingering taste in your coffee. Place the parts on a clean towel to air dry. Make sure they are completely dry before reassembling them into your Keurig.
This simple step can save you from potential mold growth and unpleasant flavors in your coffee. Plus, you’ll enjoy the fresh aroma of your favorite brew every time.

Credit: www.youtube.com
Reassembling The Keurig
After cleaning your Keurig with vinegar, it’s time to put it back together. This process ensures your coffee maker functions well. Follow these steps to reassemble your Keurig properly.
Attach The Water Reservoir
First, attach the water reservoir to the Keurig. Align it with the base. Make sure it fits snugly. The reservoir should click into place. This step is crucial to avoid leaks.
Fill the reservoir with fresh water. Ensure it reaches the maximum fill line. This will prepare your Keurig for brewing. Clean water is essential for good coffee taste.
Replace The Drip Tray
Next, replace the drip tray. Slide it back under the coffee outlet. Ensure it is securely in position. This tray catches any drips after brewing.
Check that it sits flat and stable. A proper fit prevents spills. An organized setup makes your coffee-making process smooth.
Your Keurig is now reassembled. It’s ready for your next brew. Enjoy your freshly brewed coffee!
Frequently Asked Questions
Should I Run Straight Vinegar Through My Keurig?
No, do not run straight vinegar through your Keurig. Dilute it with water first to avoid damaging the machine. Use equal parts vinegar and water for safe cleaning.
What Is The Proper Way To Clean A Keurig Coffee Maker?
To clean a Keurig, unplug it first. Disassemble and wash removable parts with warm, soapy water. Use a descaling solution for the internal components. Rinse thoroughly and reassemble. Run a few water-only cycles before brewing coffee.
How Do I Set My Keurig To Descale Mode?
To set your Keurig to descale mode, power off the brewer. Press and hold the 8oz and 12oz buttons simultaneously for 3 seconds. Release the buttons once the descale light starts flashing. Follow the descaling instructions.
How Much Vinegar Do You Put In A 12-Cup Coffee Maker To Clean It?
Use one cup of white vinegar to clean a 12-cup coffee maker. Fill the rest with water.
Conclusion
Cleaning your Keurig with vinegar is simple and effective. Regular maintenance ensures delicious coffee. Vinegar removes buildup and keeps the machine running smoothly. Follow these steps every few months. Your coffee will taste better, and your Keurig will last longer.
Clean your machine, enjoy fresh coffee, and save money. Keep your Keurig in top shape. It’s easy and worth the effort. Happy brewing!

