
Making coffee latte art is easier than you think. You don’t need to be a barista.
With a few tools and tricks, you can create beautiful designs. Coffee latte art adds a special touch to your daily brew. It turns a simple cup of coffee into a masterpiece. People love the creativity and elegance that latte art brings.
It’s a fun way to impress friends or enjoy a peaceful morning. You can learn to pour hearts, flowers, or even tulips. The secret lies in the milk texture and the pouring technique. Even if you’re new to this, practice makes perfect. Soon, you’ll be crafting beautiful designs. Dive in and discover how to make your coffee not just taste good, but look amazing too.
Introduction To Latte Art
Have you ever marveled at the intricate designs floating atop your coffee cup? Latte art, the beautiful patterns created with steamed milk, is not just a treat for the eyes but an experience that elevates your coffee-drinking ritual. Whether you’re a seasoned barista or a curious coffee enthusiast, understanding the essence of latte art can transform your daily brew into a masterpiece.
What Is Latte Art?
Latte art is the technique of pouring steamed milk into a shot of espresso to create patterns or designs on the surface. The art lies in the delicate balance of milk and coffee. It’s both a science and an art, requiring precision and creativity.
It’s not just about the aesthetics. The texture and taste of the milk blend seamlessly with the espresso, enhancing the overall flavor profile. Next time you sip your latte, notice how the design influences your coffee experience.
History And Origin
Ever wondered where latte art originated? It’s traced back to Italy, the land of espresso. However, it gained popularity in the United States during the 1980s and 1990s. Coffee shops in Seattle played a pivotal role in popularizing this art.
From simple hearts to complex tulips, latte art evolved rapidly. Baristas started experimenting, pushing the boundaries of what’s possible. Today, it’s a global phenomenon, with competitions and workshops dedicated to perfecting this craft.
Imagine the satisfaction of creating a perfect rosette on your own latte. It’s not just about skill, but practice and passion. Have you tried making latte art? What designs do you find most captivating?
Credit: www.youtube.com
Essential Tools
Creating stunning coffee latte art requires precision and the right tools. Having the essential tools ensures your designs come out perfect every time. Let’s explore what you need to get started.
Espresso Machine
An espresso machine is crucial for making latte art. It brews strong, concentrated coffee. Consistent pressure and temperature are key. Look for a machine that offers stability.
Milk Frother
A milk frother creates the velvety texture needed for latte art. Choose one that heats and froths milk evenly. A steam wand attachment works best. It gives more control over the froth.
Pitcher And Thermometer
A pitcher is used to pour the frothed milk into the coffee. Look for a stainless steel pitcher. It allows better handling and pouring. A thermometer helps you monitor milk temperature. Perfect froth requires precise heat.
Choosing The Right Coffee Beans
Making coffee latte art starts with choosing the right coffee beans. The beans you select significantly impact the taste and texture of your latte. Quality beans will elevate your latte art, making it both visually appealing and delicious.
Best Coffee Beans For Latte
Arabica beans are often the best choice for lattes. They offer a smoother and more balanced flavor compared to robusta beans. Look for beans that have a medium roast; they provide the perfect balance of acidity and flavor, ideal for latte art.
I once tried using dark roast beans, but they overpowered the milk’s sweetness. Medium roast beans, however, complemented the milk perfectly. Experiment with different beans and find what suits your taste.
Consider beans from regions known for their quality coffee, like Colombia or Ethiopia. These beans often have unique flavor profiles that can add an interesting twist to your latte.
Grinding Techniques
The grind size of your coffee beans is crucial for making a good latte. A fine grind is typically best for espresso machines, as it allows for maximum extraction of flavor.
Using a burr grinder can make a big difference. It provides a consistent grind size, which is essential for making a smooth and rich espresso shot. Blade grinders can be inconsistent, affecting the taste of your coffee.
Have you ever noticed your latte tasting off? It could be due to unevenly ground coffee. Pay attention to your grinding technique and aim for a uniform grind. This small step can make a huge difference in your latte art.
Choosing the right coffee beans and grinding them correctly are foundational steps in creating beautiful latte art. What beans will you experiment with next?

Credit: www.baltimoremagazine.com
Perfecting Your Espresso Shot
Perfecting your espresso shot is essential for creating beautiful coffee latte art. Start with fresh, quality beans and finely ground coffee. Practice steaming milk to achieve the right texture for pouring intricate designs.
Crafting beautiful latte art begins with a perfect espresso shot. A well-pulled shot sets the foundation. It enhances both the taste and appearance of your latte. To achieve this, focus on two crucial elements: tamping and extraction time. Together, they define the flavor and texture of your espresso. Let’s delve into these key aspects.
Tamping Techniques
Tamping compresses the coffee grounds in the portafilter. This ensures even water flow during extraction. Use a consistent pressure, about 30 pounds. Apply the pressure with a flat, level hand. A slight twist at the end can help. It evens out the surface. Avoid tamping too hard. This could block water flow and lead to a bitter shot. Practice makes perfect. Achieving a consistent tamp requires patience and repetition.
Extraction Time
Extraction time affects the shot’s flavor. Aim for a 25-30 second window. Too short, and the shot tastes sour. Too long, it becomes bitter. Start your timer when you press the button. Watch the flow of the espresso. It should be a steady stream. Not too fast, not too slow. Adjust grind size if necessary. A finer grind slows down extraction. A coarser grind speeds it up. Consistency is key. Keep track of your times and adjust accordingly. “`
Steaming Milk To Perfection
Steaming milk to perfection is an art form that can elevate your coffee latte from mundane to extraordinary. Whether you’re a seasoned barista or a home brewer, mastering the technique of milk steaming is crucial for creating beautiful latte art.
Imagine the satisfaction of pouring a velvety smooth milk into your espresso, watching the patterns emerge as you swirl the cup. It’s a skill that requires precision and practice, but with the right guidance, you can make it happen.
Creating Microfoam
Microfoam is the secret ingredient to a perfect latte. It’s the silky, velvety texture that makes latte art possible. To create microfoam, you need to introduce air into the milk while steaming. Aim for a gentle hissing sound as you stretch the milk, and keep the steam wand just below the surface. This technique traps tiny air bubbles, resulting in a smooth and creamy texture.
Consistency is key. If the foam is too thick, it will sit on top of your espresso, making it hard to pour art. If it’s too thin, it won’t hold the design. Practice makes perfect, so keep experimenting until you find the right balance.
Have you ever wondered why some cafes consistently produce stunning latte art? It’s often because their baristas have mastered the art of creating microfoam. Try focusing on this step, and you’ll see a noticeable difference in your latte art skills.
Optimal Milk Temperature
The temperature of your milk can make or break your latte art. Aim for a temperature between 140°F to 150°F (60°C to 65°C). This range is warm enough to create microfoam but not so hot that it breaks down the milk’s proteins.
Use a thermometer to ensure accuracy, especially if you’re new to steaming milk. Overheated milk can taste burnt and won’t hold foam well. Underheated milk can be too watery, affecting the texture of your art.
Consider how a chef carefully monitors the temperature of their dishes to achieve the perfect taste. Similarly, by paying attention to the temperature of your milk, you’re setting yourself up for success in creating beautiful latte art.
What challenges have you faced in creating latte art? Share your experiences and tips in the comments below. Your insights might help someone else perfect their steaming technique!

Credit: www.baltimoremagazine.com
Basic Latte Art Patterns
Creating coffee latte art adds a special touch to your coffee experience. There are many patterns you can try. Let’s start with the basics. Here are two simple and popular designs: the Heart Design and the Rosetta Pattern.
Heart Design
The heart design is perfect for beginners. Start by pouring steamed milk into the center of your espresso. Slowly tilt the cup towards you. As you pour, the milk will spread out. When the cup is almost full, move the pitcher back. This will form a heart shape. Practice makes perfect. Keep trying until you get a nice, even heart.
Rosetta Pattern
The Rosetta pattern is a bit more advanced. Start like you would for the heart design. Pour the milk into the center of the espresso. Then, move the pitcher back and forth. This will create lines in the milk. Keep moving the pitcher until you reach the edge of the cup. To finish, draw a straight line through the center of the pattern. This will create the stem of the Rosetta. It takes practice, but the result is beautiful.
Advanced Latte Art Techniques
Learn to create beautiful patterns on coffee. Advanced latte art techniques will help you pour hearts, rosettas, and tulips perfectly. Enjoy the art of making each cup look stunning.
Making coffee latte art is a delightful way to enhance your coffee experience. Once you’ve mastered basic designs, it’s time to explore advanced latte art techniques. These intricate patterns will elevate your coffee presentation and impress your friends and family.
Tulip Design
The tulip design is a classic and intricate pattern that requires precision. Start by pouring your steamed milk into the espresso slowly. As the cup fills, move your pitcher closer to the surface. Gently wiggle the pitcher to create a base layer of milk foam. Then, lift the pitcher slightly to draw a smaller circle on top.
Repeat this process, decreasing the size of each layer to form the petals of the tulip. Finish by lifting the pitcher and drawing a line through the center. This creates the stem and completes the tulip design. Take your time, and you’ll see improvement with each attempt.
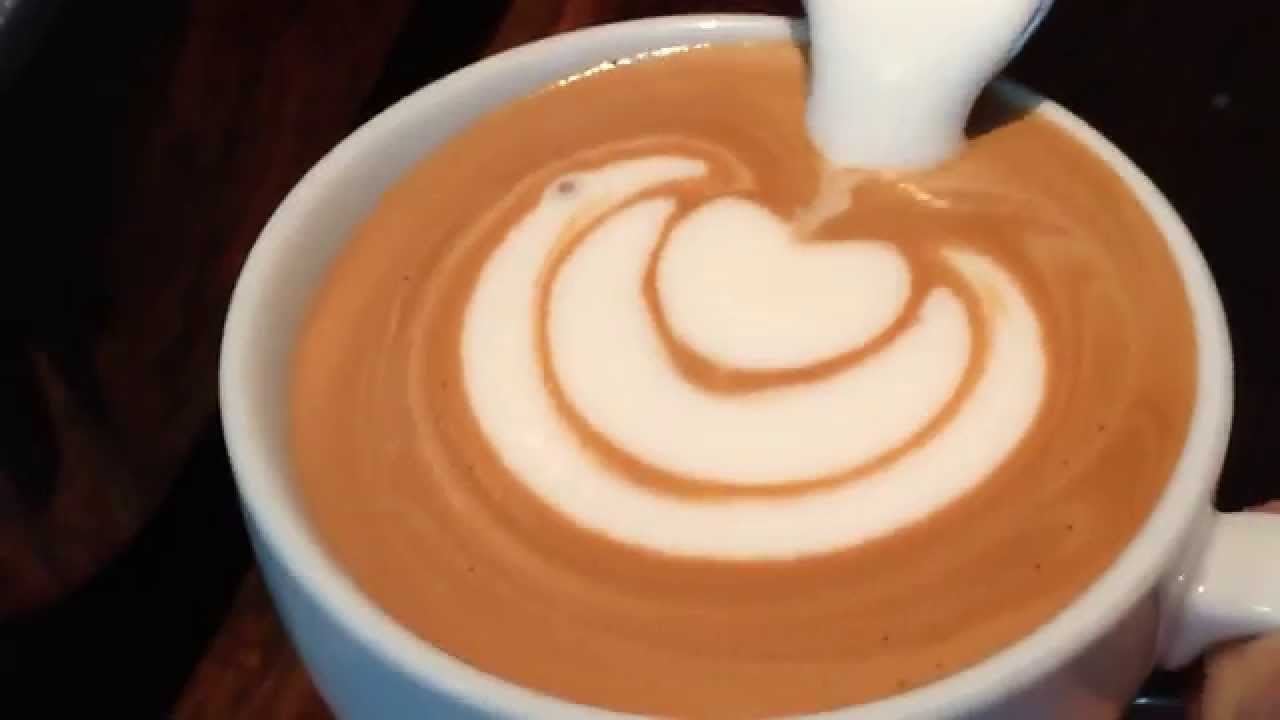
Swan Pattern
The swan pattern is a showstopper and a true test of your latte art skills. Begin by creating a heart shape as the foundation. Pour the milk slowly and create a small circle at the bottom of the cup. Next, lift the pitcher to draw a narrow, elongated line for the neck. Then, pull the milk pitcher back to the top of the heart and create a zigzag motion to form the swan’s wings.
To finish, draw a small arc for the head and a loop for the beak. The swan pattern requires steady hands and practice. Challenge yourself and enjoy the process. Mastering these advanced latte art techniques will take time and patience. But with each pour, you’ll learn and improve. Which design will you try first?
Tips For Consistency
Creating beautiful latte art requires more than just technique. Consistency is key to achieving those intricate designs. Whether you’re a beginner or have some experience, refining your skills can lead to stunning results. Here are some tips to ensure you consistently make impressive coffee latte art.
Practice Makes Perfect
Regular practice enhances your latte art skills. Set aside time each day to work on your technique. Repeat the motions of pouring and creating designs. Over time, your hand will naturally adjust to the right speed and angle. Experiment with different patterns to keep the practice engaging.
Start with simple shapes like hearts or leaves. Gradually increase complexity as you gain confidence. Document your progress with photos. This helps track improvements and identify areas needing more focus. Remember, each attempt is a step forward.
Common Mistakes To Avoid
Many beginners pour milk too fast or too slow. Both affect the final design. Aim for a steady, controlled pour. The froth should be smooth and velvety. Too much foam leads to bubbly art, while too little results in flat patterns.
Another mistake is overheating the milk. This changes its texture and flavor. Use a thermometer to ensure the right temperature. Also, avoid shaking the milk jug excessively. Gentle swirls create a consistent texture.
Lastly, neglecting the coffee’s surface can ruin your art. Ensure the espresso is fresh and has a good crema. This provides a perfect canvas for your designs. Consistency in each element leads to better latte art.
Showcasing Your Latte Art
Showcasing your latte art is an exciting part of the coffee journey. You’ve spent time perfecting your designs. Now, it’s time to share them with the world. Sharing helps you connect with others. It also inspires fellow coffee enthusiasts. Let’s explore ways to showcase your latte art.
Photographing Your Creations
Good photographs highlight your latte art’s beauty. Use natural light for clear images. A simple background keeps the focus on your cup. Experiment with angles to find the best shot. Capture the details of your design. A macro lens can help with close-ups. Edit your photos to enhance colors and contrast. Avoid over-editing. Keep it natural.
Sharing On Social Media
Social media is a great platform for your latte art. Platforms like Instagram are visual and popular for coffee lovers. Create a dedicated account for your art. Engage with other coffee enthusiasts.
Write captions that tell a story about your creation. Ask questions or share tips. Use relevant keywords to reach a wider audience. Post consistently to keep your followers engaged. Interact with comments and messages. Build a community around your passion.
Frequently Asked Questions
How To Make Coffee For Latte Art?
To make coffee for latte art, brew a strong espresso shot. Steam milk to 150°F, creating microfoam. Pour milk slowly into espresso, forming patterns.
Can You Make Latte Art With Normal Coffee?
No, latte art requires espresso and steamed milk. Regular coffee lacks the necessary texture for creating latte art designs.
How To Make A Coffee Latte Step By Step?
To make a coffee latte, brew one shot of espresso. Steam and froth 1 cup of milk. Pour espresso into a cup. Add steamed milk, holding back the froth. Spoon froth on top. Enjoy your latte!
What Kind Of Milk Is Best For Coffee Art?
Whole milk is best for coffee art due to its creamy texture. It creates smooth, rich froth, perfect for latte art.
Conclusion
Creating coffee latte art can be a fun and rewarding hobby. Practice daily to improve your skills. Use fresh milk and quality coffee for the best results. Remember, patience is key. Each cup will get better with time. Soon, you will impress friends and family with your beautiful designs.
Enjoy the process and have fun. Your latte art journey starts now. Happy brewing!